
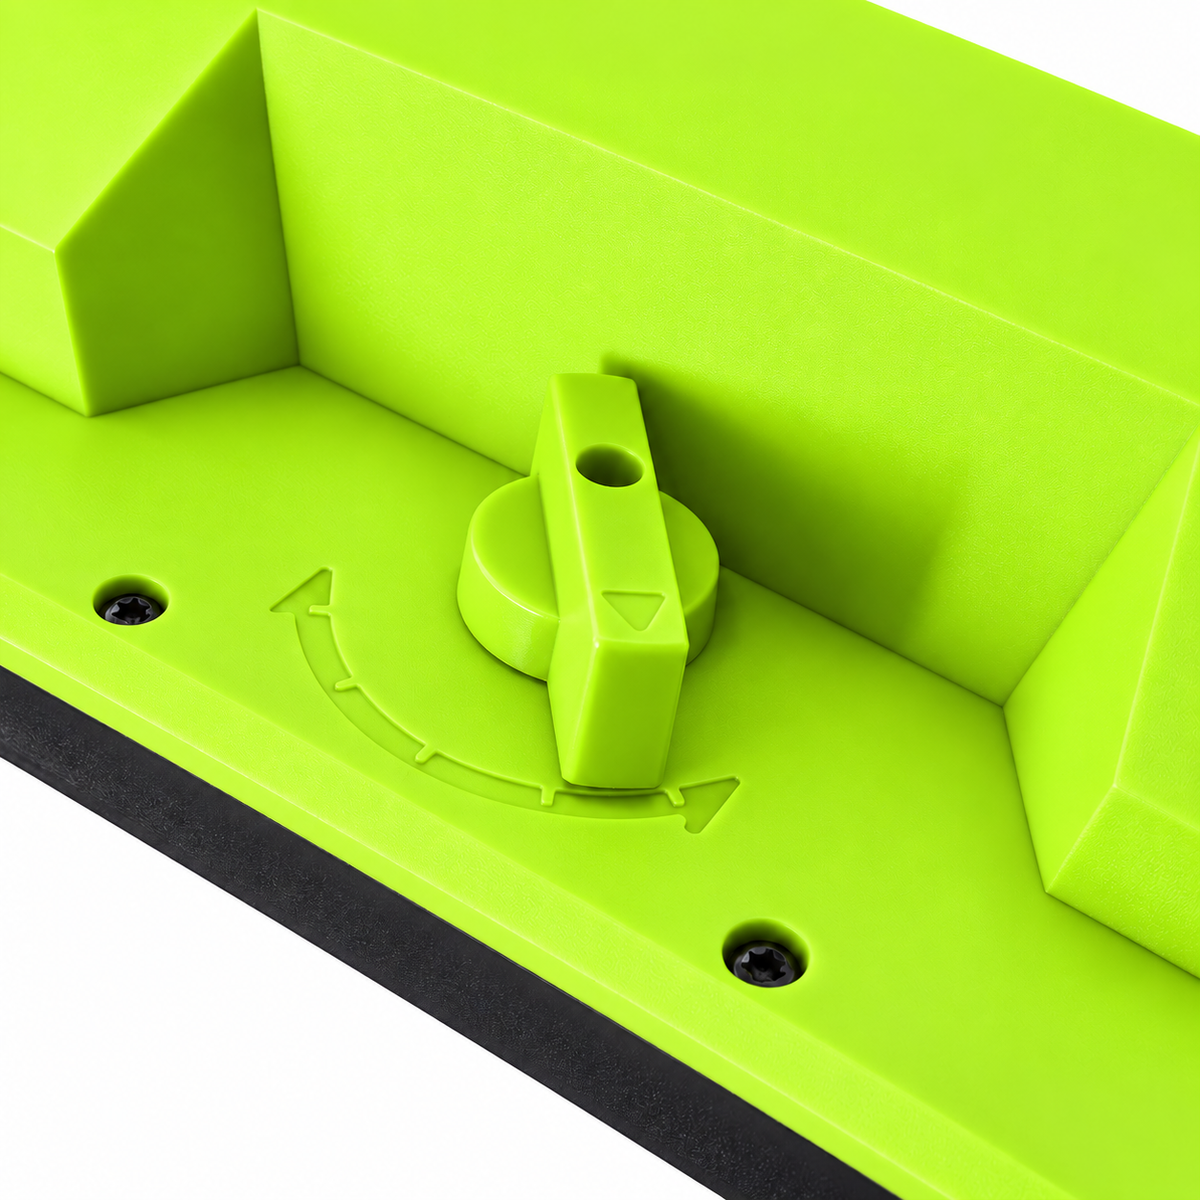
Aim before starting
With the battery removed and the auger stopped, turn the top direction knob to guide snow left or right. Aim away from people, animals, vehicles, windows, doors and roads.
Get familiar with your JoyStrom snow shovel, from the first connection to the last clean-up. Read the full operator manual before assembly, charging or use.
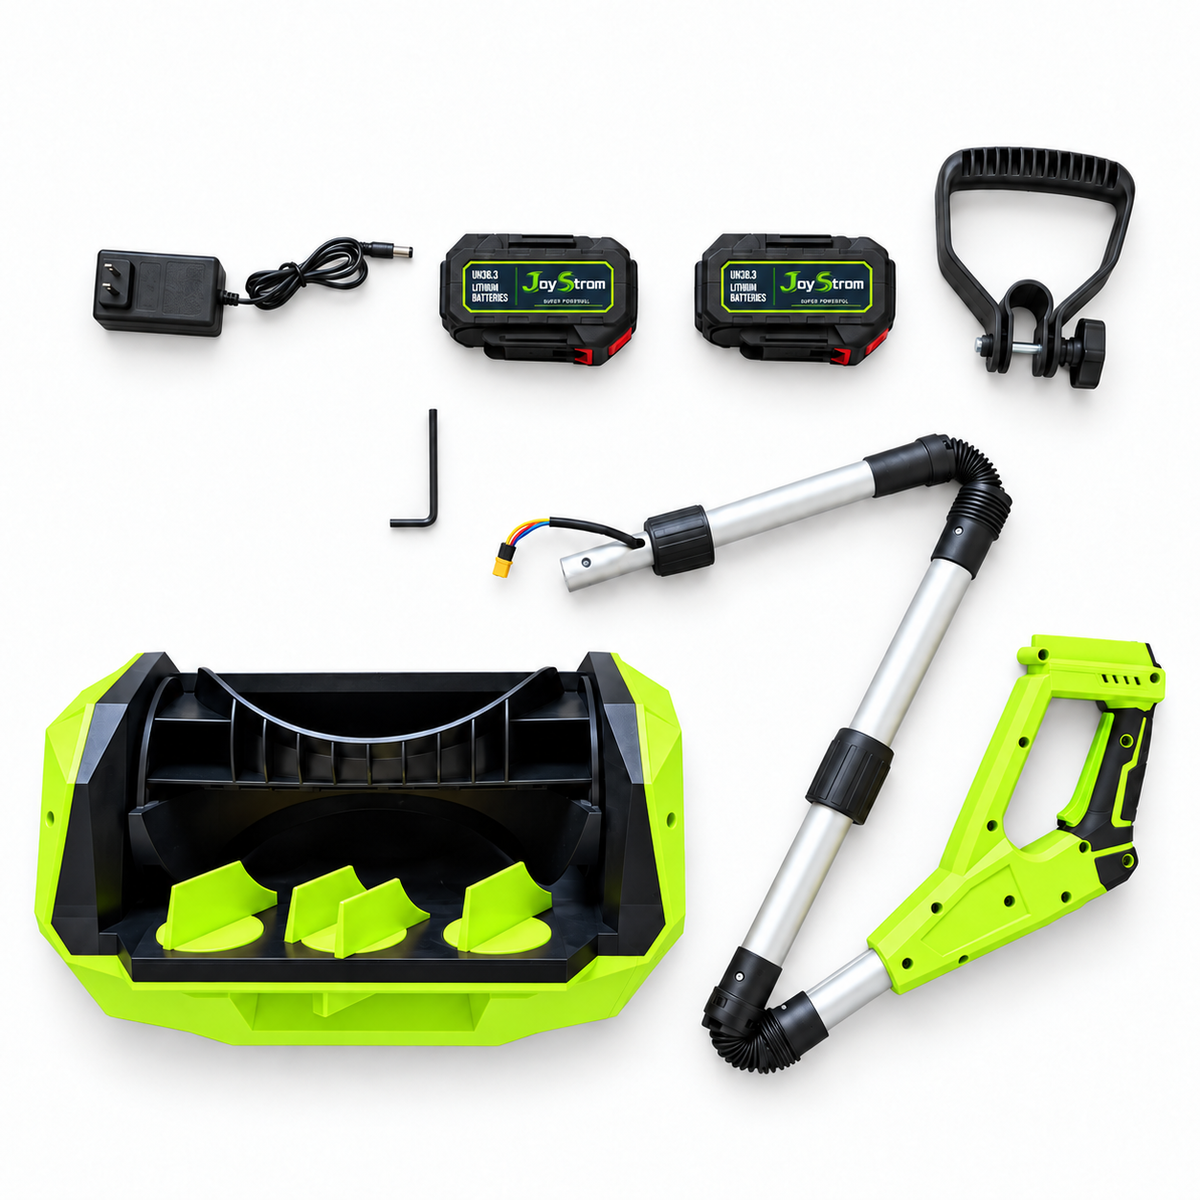
Follow the steps in order. Select any image to see the connection more clearly.

Align the locating features on the two electrical connectors and push them fully together.
Check before continuing The connector is secure. The cable is not twisted, stretched or pinched.

Insert the lower shaft straight into the socket on the motor housing until fully seated. Keep the connected cable clear as you insert it.
Check before continuing Both fixing holes align, and the shaft is fully inserted.

Insert both fixing screws from the front. Tighten them evenly with the supplied hex key. The picture shows the tightening process.
Check before continuing Both screws are fully seated, and the shaft does not move in the socket.
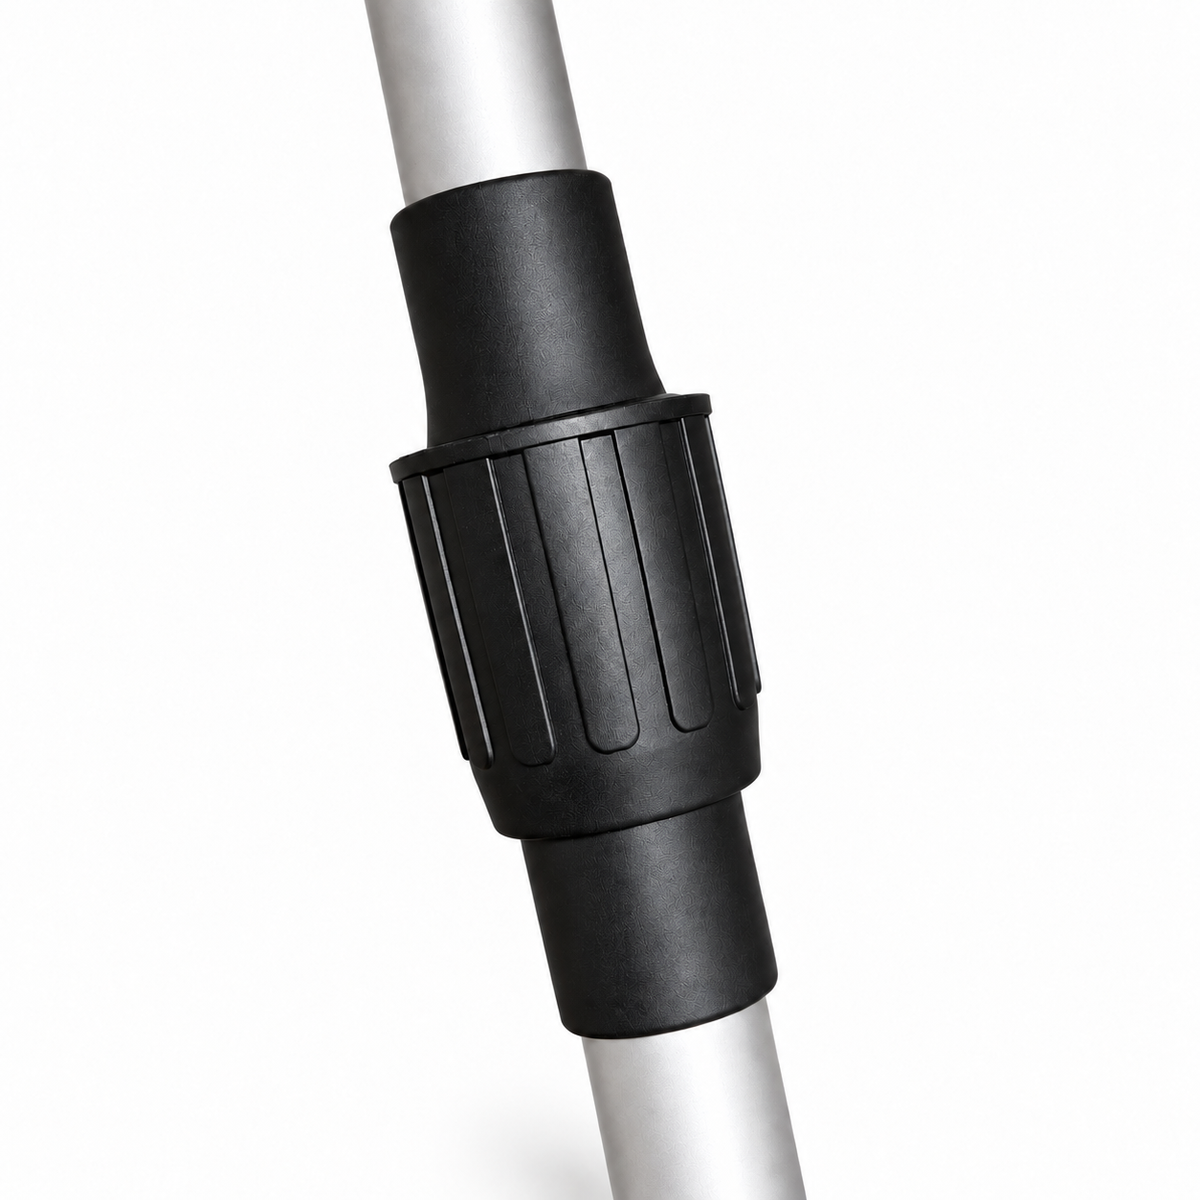
Straighten all three fixed shaft sections, then turn both locking collars until tight.
Check before continuing Both collars are locked and neither joint can separate. The shaft is not telescopic.

Clip the auxiliary handle over the shaft. Move it to a comfortable position and tighten the side knob.
Check before continuing The handle cannot slide or rotate during use.

Only after assembly and inspection, slide a battery down the handle rail until the latch clicks. Keep hands and feet away from the auger and discharge area.
Check before continuing Pull lightly to confirm the battery is locked. Recheck the wiring, shaft, screws, collars and handle.
Allow a hot or cold battery to reach the charging range naturally before charging.
Use the supplied battery packs and charger, or approved identical replacements. Charge indoors in a dry, ventilated area away from combustible materials. Keep charger vents clear.
Charge only between 41°F and 113°F (5°C–45°C). Let a hot or cold battery reach this range naturally. Do not use an external heat source.
Do not use a battery or charger that is damaged, swollen, leaking, wet or operating abnormally.
The charger indicator is red while charging and green when fully charged. The manual lists approximately 4.5 hours as a typical charging time; use the indicator to check charging status.
Charging time is not working runtime. Battery runtime varies with snow conditions and use; no tested runtime figure is currently published. The shovel uses one battery at a time.
Choose a suitable paved surface, keep a clear discharge area and adjust your pace to the snow.
With the battery removed and the auger stopped, turn the top direction knob to guide snow left or right. Aim away from people, animals, vehicles, windows, doors and roads.

Press and hold the safety switch, then pull the trigger. To stop normally, release the trigger and wait for all movement to stop. Remove the battery after use.

Keep one hand on the main handle and the other on the auxiliary handle. Maintain stable footing and walk forward steadily without forcing the tool.
Reduce the feed rate in heavy or wet snow. Do not use the shovel to break solid ice.
Inspect the tool and fasteners before each use. Clear stones, cords, mats, toys and other objects from the work area. Keep children, pets and bystanders away.
Wear eye protection, slip-resistant footwear, gloves and fitted winter clothing. Read the manual and confirm the surface and snow conditions are suitable before starting.
Remove the battery and wait for all moving parts to stop before adjusting the direction knob or auxiliary handle.
Remove the battery and let it warm naturally in a dry indoor area. Make sure it is dry before reinstalling it. Do not charge below 41°F (5°C), and never use external heat.
If the machine strikes an object, vibrates abnormally or loses control response, stop and remove the battery. Have damage or abnormal vibration inspected before using it again.
Never use hands or feet to clear the auger or discharge area. Stored energy can move parts after the trigger is released.
Do not use a screwdriver, metal tool or sharp object. A clean-out tool is not included.
Remove the battery before cleaning, inspection, maintenance, transport or storage.
Check fasteners before use. No user lubrication is required.
Store the battery separately with its terminals protected. Let it cool before charging after use, and do not leave it fully discharged.
For long-term storage, keep the battery at 40%–60% charge in a cool, dry, well-ventilated place.
For transport, remove the battery, protect its terminals and secure the tool against movement, impact and crushing.